Create a New Java Project
Start the new project with the Maven Archetype (template) for creating a Jersey RESTful API Service.
Background
Maven Archetypes for Jersey projects
Action Plan
Create Project Structure
Use the Maven Archetype with group-id org.glassfish.jersey.archetypes and artifact-id jersey-quickstart-webapp for creation
of the initial project structure.
Using Eclipse
- Use Eclipse menu: File > New > Project…
- The dialog New Wizard will open
- Select from the tree Maven > Maven Project
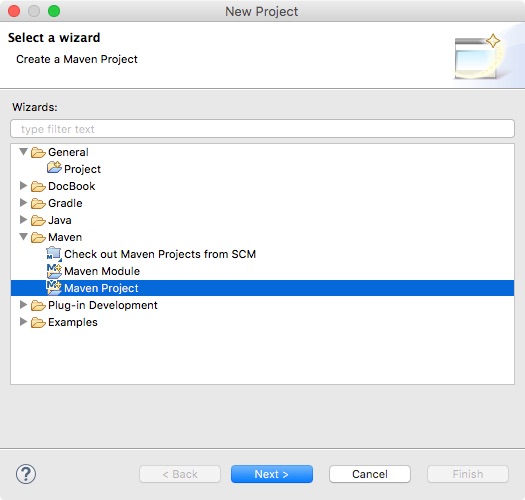
- Use button Next to continue
- Remove the check box Use default Workspace location
- Enter the Location where the (git) project should be created
In this example there is the user john, who has a git directory, in which he places all his (git) projects. The name of this new project ismeeting-room-reservation-services
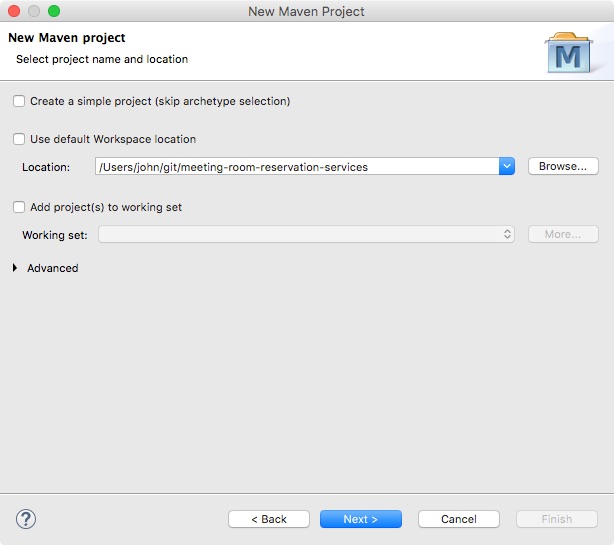
- Use button Next to continue
- Enter in the field Filter the text jersey-quickstart-webapp
After several seconds there should appear two entries
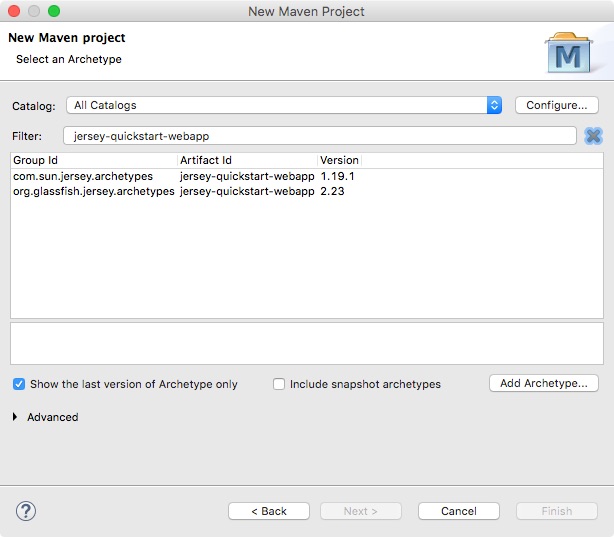
- Choose the 2nd edition (here version 2.23)
Details about the Archetype are shown in the description window
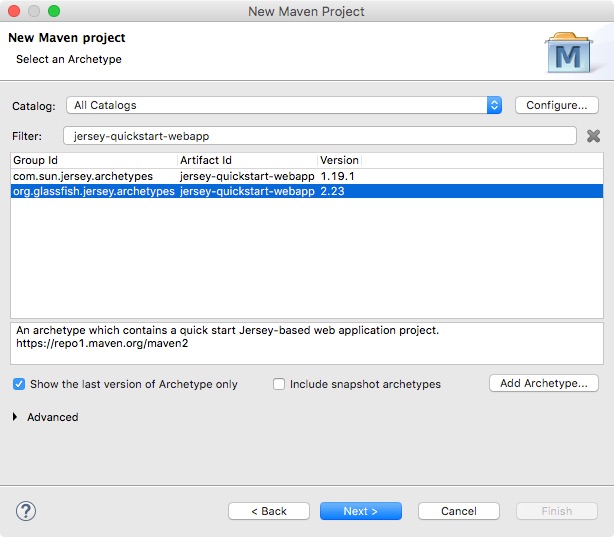
- Use button Next to continue
- The dialog will show New Maven Wizard - Specify Archetype parameters
- Enter as Group Id the unique reverse url, of your github account
Here we combine John his account on github to:com.github.johnand add the project name to itmeeting-room-reservation
Create your own unique groud-id similar tocom.github.<account>.meeting-room-reservation - Enter as Artifact Id text
meeting-room-reservation-services
TIP Keep this the same as the (git) project name, for easy association WARNING Group id and artifact id should be inline with Maven naming conventions, all lower-case letters, words separated with dashes. - Enter the (Java) Package name
com.github.<account>.mrrs
INFO Here we create an abbreviationmrrs, because otherwise the package name get very long.
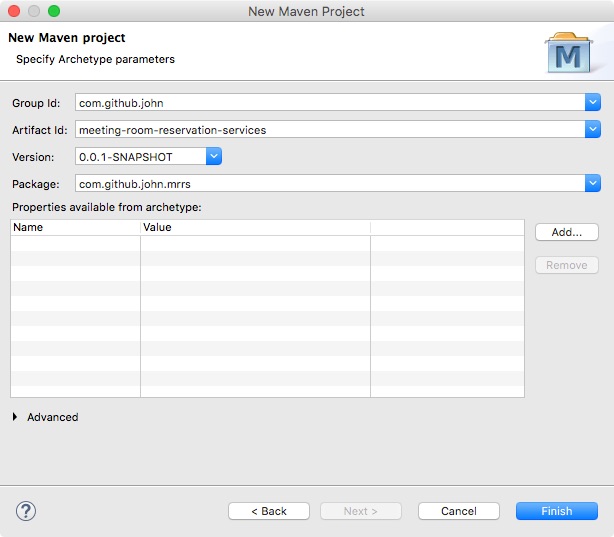
- Use button Finish so the project structure is created, for this Maven Archetype
TIP: In case the Maven Archetype is not found, add the Maven Archetypes Catalog https://repo1.maven.org/maven2/archetype-catalog.xml in Eclipse.
Using Maven Command Line
For those not using Eclipse the same thing can be done from the command-line, using the Maven Archetype Plugin. This plug-in has the goal archetype:generate which creates a new Maven project, based on the Archetype.
Go to the directory git
cd $HOME/git
Use Maven to generate to create the project structure
mvn  archetype:generate  -DgroupId=com.github.john.meeting-room-reservation  -DartifactId=meeting-room-reservation-services \
    -DarchetypeGroupId=org.glassfish.jersey.archetypes  -DarchetypeArtifactId=jersey-quickstart-webapp    -DarchetypeVersion=2.23 \
    -DinteractiveMode=false \
    -DarchetypeCatalog=https://repo1.maven.org/maven2/archetype-catalog.xml
This project can now be imported into Eclipse as an existing Maven project.
Verify the Project
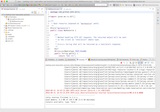
The project created through the Maven Archetype jersey-quickstart-webapp should now look similar as seen in the screenshot. Make sure the Eclipse Perspective Java EE is active.
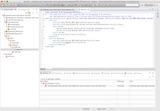
- The Markers window shows one JSP Problem, to fix this add the Maven dependency
javax.servlet-api - Open the file
pom.xmland add the required dependency
    <dependency>
        <groupId>javax.servlet</groupId>
        <artifactId>javax.servlet-api</artifactId>
        <version>3.1.0</version>
</dependency>- Save the modification, this will trigger Eclipse to check the Maven dependencies and when changed, rebuild the project again. This will remove the error from the Markers window.
Run the Web Application Project
INFO Make sure the Eclipse Jetty feature is installed.
- Go to the window Project Explorer and on the project (here meeting-room-reservation-services) use the context menu: Run As > Run with Jetty
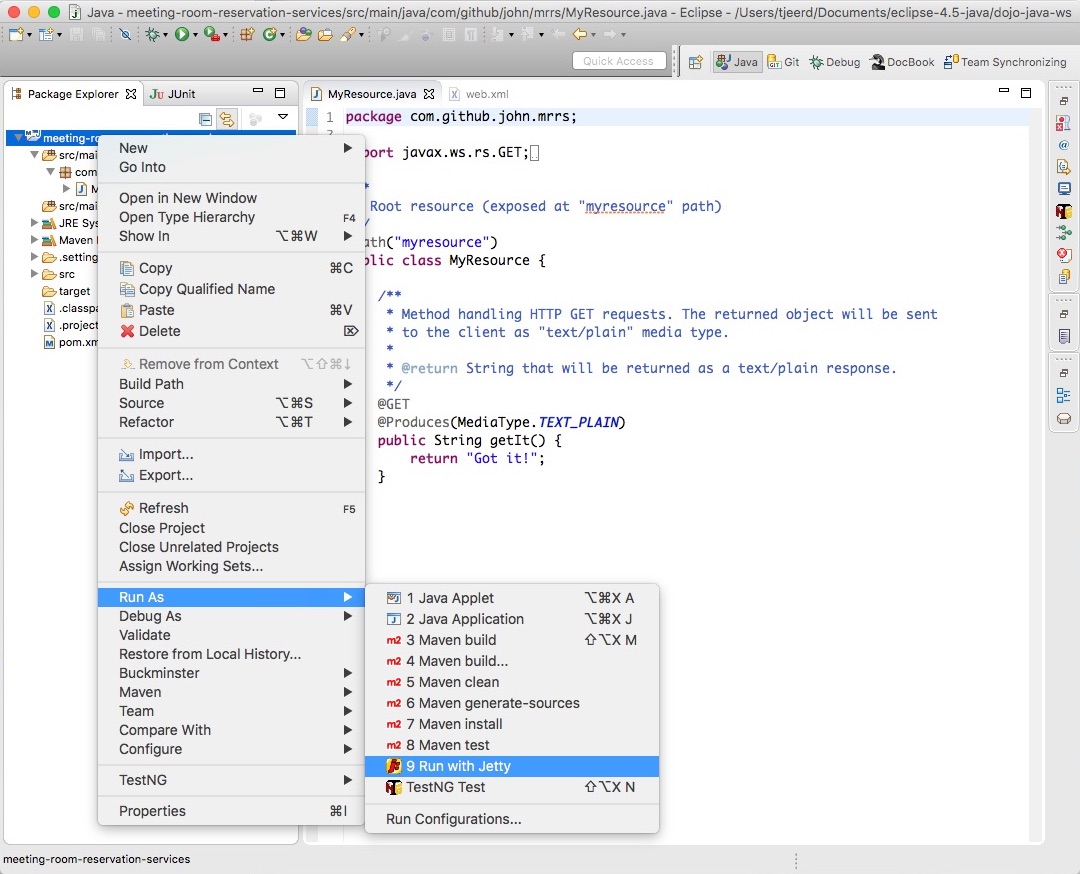
- This will launch Jetty as seen in the console
WARNING Make sure you see the red line ending with: SelectChannelConnector@0.0.0.0:8080 This indicates that Jetty has successfully started.
Verify the Web Application with a (Graphical) Web Browser
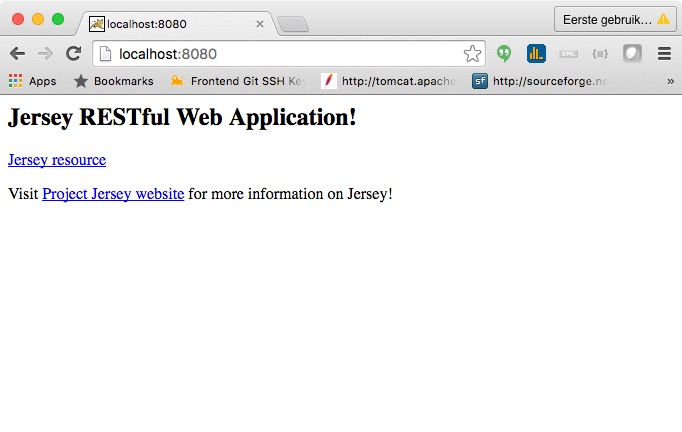
- Open a browser (Chrome, Firefox, Opera, Safari, or other) and go to http://localhost:8080 this should show the page as seen below (this is actually the
index.jspof the project)
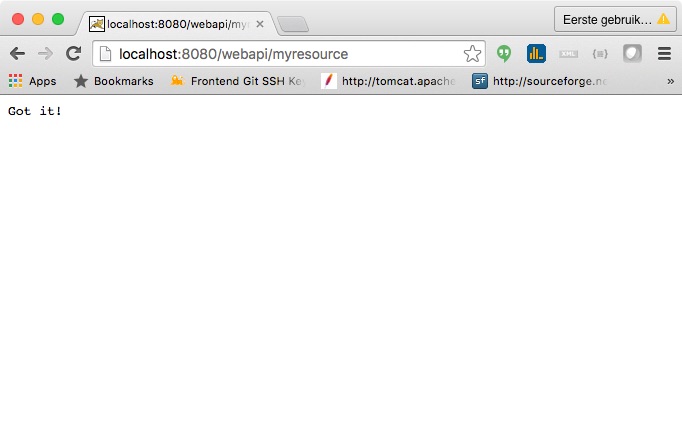
- Check if the Web Application Resource exists http://localhost:8080/webapi/myresource
Verify the Web Application with a (Text) Web Browser
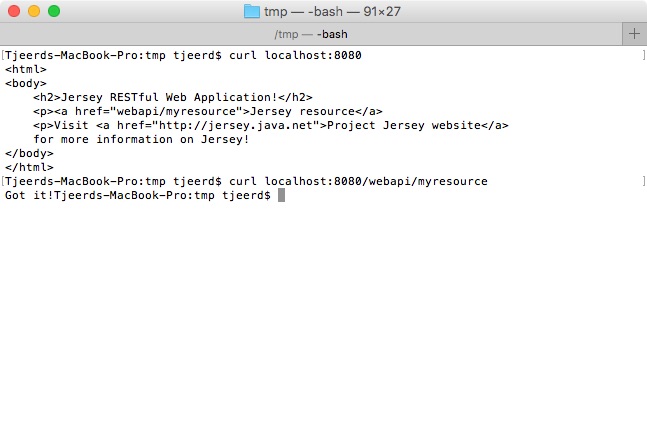
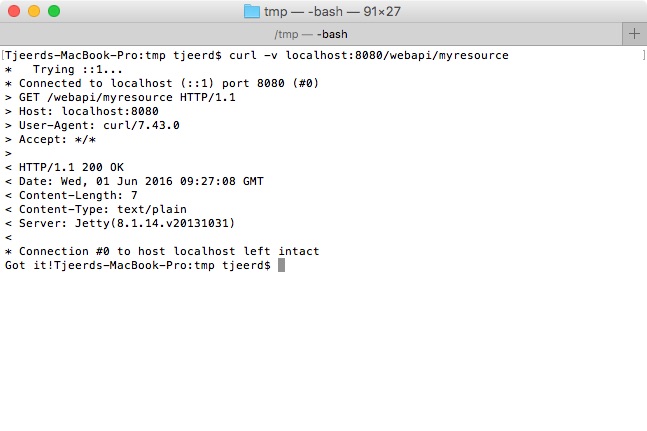
Use curl to see the same content, but just in plain text. Use the option -v to also see all the request / replay details.
-
Open a command terminal and enter the curl command
curl localhost:8080
This should show the content of the html page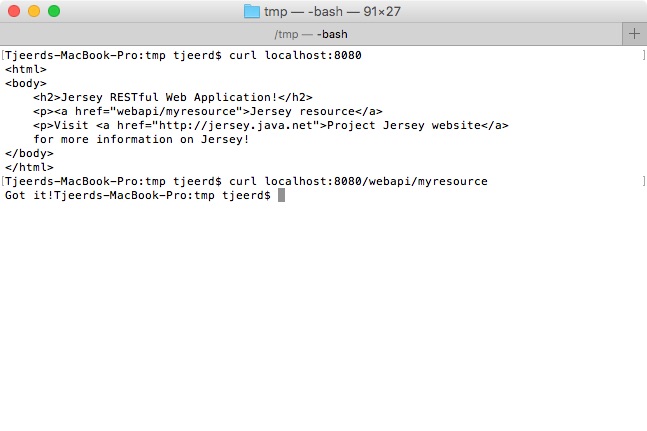
- Use curl to get the content of the resource
curl localhost:8080/webapi/myresource
This should show the content of the resource (just the textGot it!)
- Use curl to get the content of the resource in verbose mode
curl -v localhost:8080/webapi/myresource. This will show the request and response headers as well.
Jetty Commands
In the Jetty console, you can enter commands like:
- help - Shows the available commands
- stop - Stops Jetty (or use the small red stop rectangle, from the speed button bar menu)
- restart - reloads the Web Application(s) that are deployed in this Jetty instance

